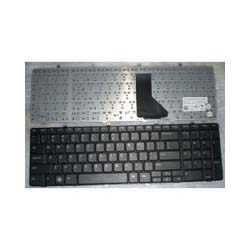
Laptop keyboards take in a lot of dirt, dust and grime. Occasionally cleaning the Dell Inspiron 1764 Keyboard will make your laptop look nicer and preserve its life.
1.Start by turning your machine off. Unplug it, disconnect it and remove any USB wires or memory sticks.
2.For simple cleaning, tilt your laptop forward. Bang the back and hopefully anything lodged between the keys will fall out!
3.Take the end of a teaspoon and wrap it in a wet-wipe. Drag the tea spoon along all the edges of the keys and keyboard. This will pick up any dust and dirt.
4.Take a vacuum cleaner and run it over the keys. This will rid your laptop of any more dirt. Alternatively, you can use a hair-dryer to blow it away but ensure you repeat step 2.
5.If you are still having problems, remove your laptop keys. So far, we have avoided doing this because it is timely, annoying and easy to get wrong.
Research your laptops brand name and see if you do have keys that can actually be taken off
Be carful, because the keys are often held on by fragile plastic tabs. Gently pop them off and store them somewhere safe.
Run your wet-wipes over the bare Dell Inspiron 1764 Keyboard. Q-tips also work well with this, after soaking them in anything that evaporates (rubbing alcohol and hydrogen peroxide) so that you do not get moisture under the keyboard.
Pop the keys back on. There will occasionally be keys with metal “stands” on the back – these are easy to slide back into their rails. Other keys will simply require you to depress the corners.
You can also wash the keys, but this makes losing keys easier.
6.Finished.